Crochet is a creative and enjoyable craft that allows you to make beautiful and personalized items. With practice and patience, you can develop your crochet skills and create unique pieces to treasure or share with others. Following are some of the basic stitches as well as Slipknot that are used for knitting different personalized items.
| 1. Single Crochet | Insert your hook from the second chain. Yarn over. Pull through the chain. Two loops on the hook. Yarn over again and pull through both the loops. |
| 2. Double Crochet | Yarn over. Insert into the center of the ring. Yarn over and pull the yarn back through. Three loops on hook. Yarn over, pull through two loops. Yarn over and pull through two loops |
| 3. Half Double Crochet | Yarn over the hook into the next chain, yarn over pull the loop, there will be three loops on your hook. Yarn over, pull through all three loops. |
| 4. Triple Crochet | Yarn over, pull up a loop, four loops on the hook. Yarn over, pull through the first two loops, yarn over again, pull through the next two loops. Two loops on the hook. Yarn over and pull through the last two loops |
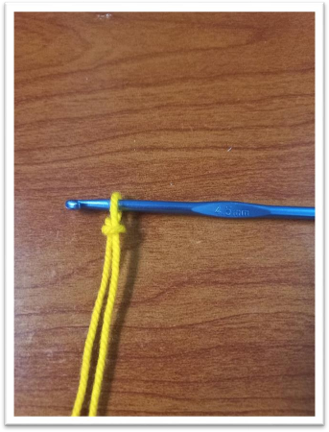
| 5. Slipknot | Rap the yarn around your index finger and around the thumb and bring the yarn into the lower loop and snug that out. Yarn over the hook and pull through the loop on the hook. |
Following are just a few examples of crochet abbreviations commonly used in patterns. It’s important to note that some abbreviations may vary slightly depending on the country or region. When starting a new pattern, always check the pattern key or legend for the specific abbreviations used in that particular pattern.
- Ch: Chain – This is the most basic crochet stitch. It creates a foundation chain and is often used as a starting point for other stitches.
- Sc: Single Crochet – This stitch creates a single crochet stitch, which is a short and tight stitch.
- Hdc: Half Double Crochet – This stitch is taller than a single crochet but shorter than a double crochet. It creates a medium-height stitch.
- Dc: Double Crochet – This stitch creates a tall and open stitch. It is commonly used for creating height and drape in crochet projects.
- Tr: Treble Crochet – This stitch is taller than a double crochet and creates an even taller and more open stitch.
- Sl St: Slip Stitch – This stitch is used to join stitches or rows together, create decorative effects, or move the hook to a different location without adding height.
- Inc: Increase – This refers to increasing the number of stitches in a specific area. The specific increase technique may vary depending on the pattern.
- Dec: Decrease – This refers to decreasing the number of stitches in a specific area. Again, the specific decrease technique may vary depending on the pattern.
- Yo: Yarn Over – This means wrapping the yarn over the hook before working the next stitch. It creates a loop on the hook and is an essential part of many crochet stitches.
- St(S): Stitch(Es) – This abbreviation refers to the number of stitches you should have or the stitches you need to work into.
- Rep: Repeat – This means repeating a specific set of stitches or instructions a certain number of times.
DESCRIPTION:
Knitting has always been a favorite hobby of many people throughout the world. It is one of my favorite hobbies as well. I always believe that if one knows the knitting and crochet work, then he/she should always try and design daily use winter clothing on her/his own. For example, knitting caps, socks, blankets, sweaters etc., should be done at home. Here is a crochet pattern for a vest for
boy up to an age of 05 years blanket.
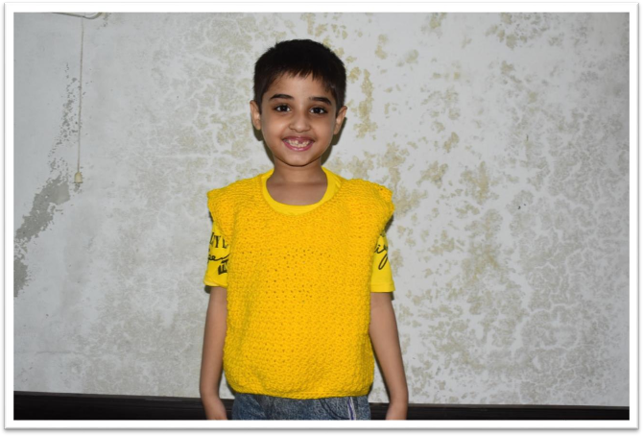
So here we go. Let’s start.
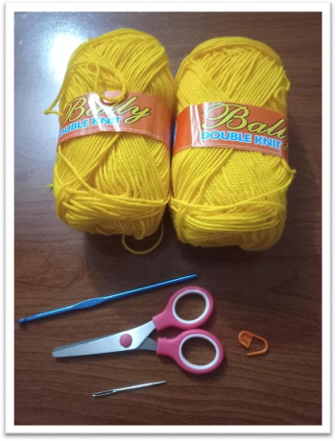
First of all, check the following list of all the accessories and material to be used for knitting (through crochet) a simple vest: –
Yarn Ball (according to your requirement) I used 03 for the sample
Scissor
Crochet Needle
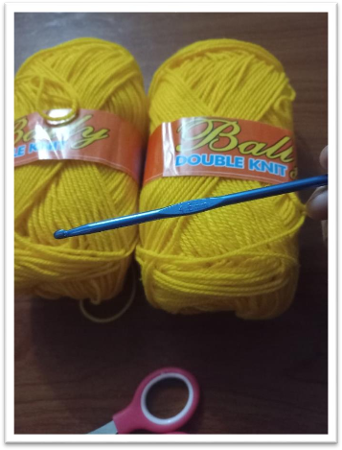
Crochet Hook (4.5mm) usually the size of the crochet hook is mentioned on the
wrapping paper of the yarn ball
Measuring Tape
Stitch Marker
1. Start with a slipknot.
2. Make foundation chain of even number i.e. 60 in this pattern
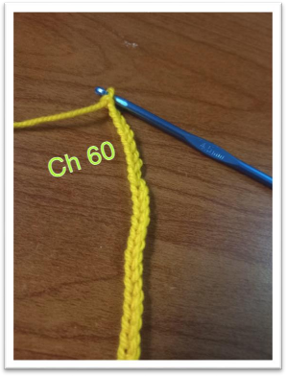
3. Round 1: Chain 01 on top of the foundation chain. 4. One single crochet in the second chain from the hook.
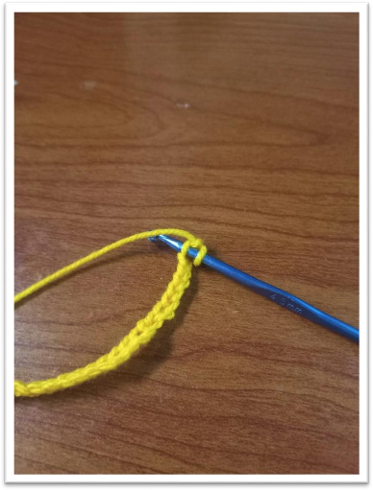
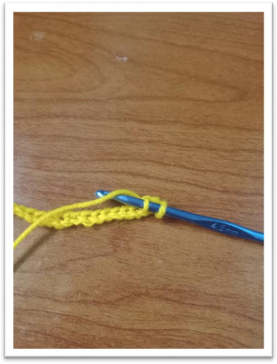
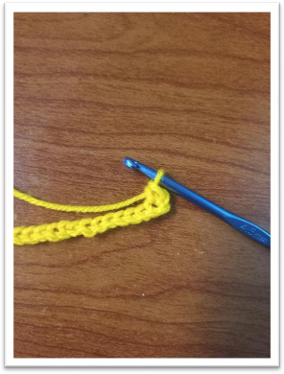
5. Now work one double crochet into the next chain.
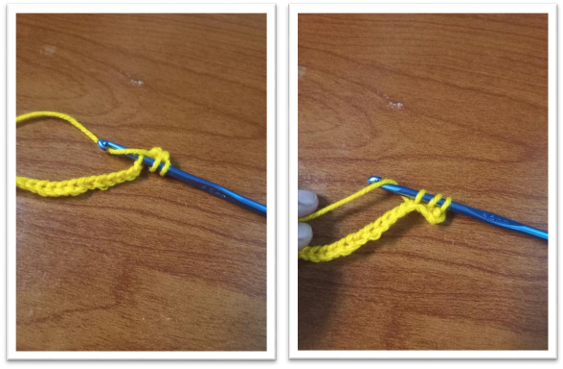
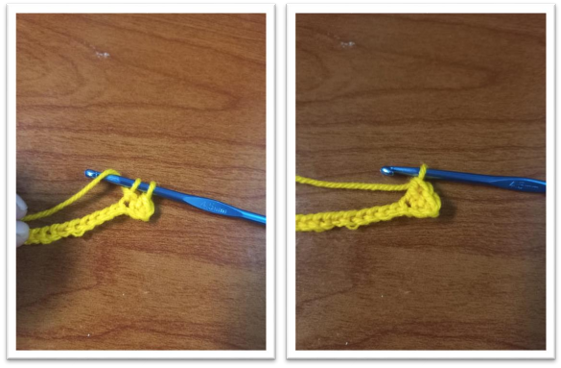
- We’ll have single and double crochet.
- Continue. Work single crochet into the next chain and the one double crochet.
- Repeat this to all the along.
- You’ll finish off working a double crochet at the end of round 01.
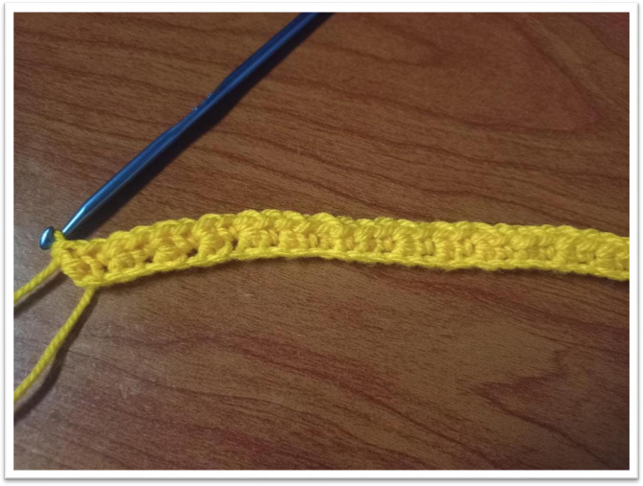
- Round 02: Chain 01: Turn work.
- Repeat exact same as in the last round.
- One single crochet in the first stitch and then into the next stitch work one double crochet till
the end of Round 02. (You’ll be working single crochet into the top of double crochet of the
last round and double crochet into the top of single crochet from the last round) - You’ll end the round with a double crochet at the end.
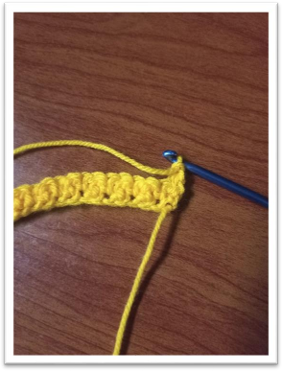
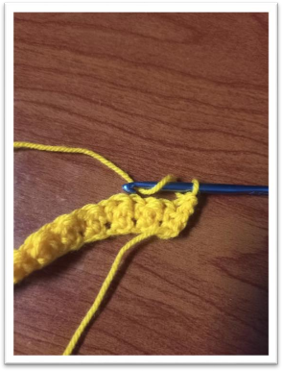
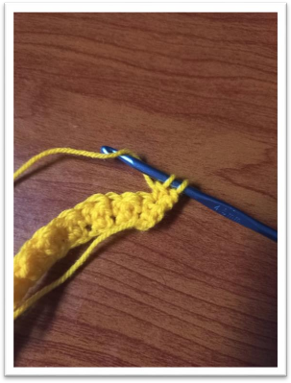
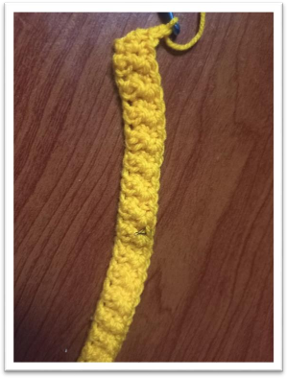
- Round 03: Chain 01: Turn Work.
- Repeat Round 02 until you work reaches where you want to arm holes to start.
- This is how you will continue to work.
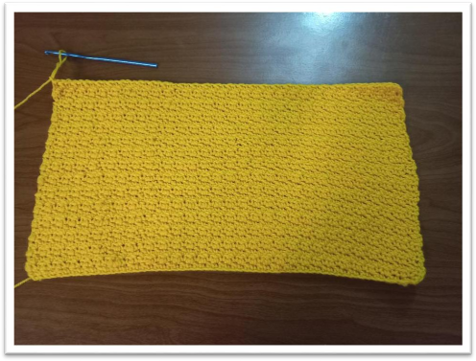
- Chain 01 Turn Work and working single crochet into the next stitch but not the chain. Then
single and double and single and double. - Fasten Off: Pull you yarn out and cut the yarn. Leave a tail to weave in later.
- Let’s work on the upper part.
- Turn your work over.
- Skip 04 or 06 stitches.
- In this case, skip 06 stitches from where you’ll fasten off.
- Insert you yarn into the 6 th Stitch, pull up the yarn and chain 01
- Round 01: Work single crochet and double crochet in each stitch until 06 stitches left from the end.
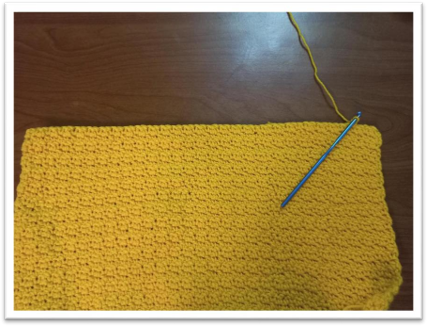
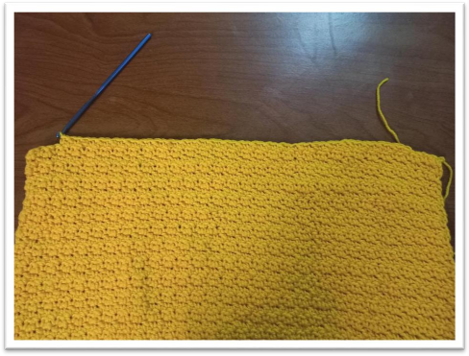
- Round 02: We’ll be working V / Round Neck which will be worked in two halves.
- Count double crochet and single crochet from Round 01.
- It should of even number.
- Divide the number with 02.
- Place a stitch marker in the middle where half of stitches completes.
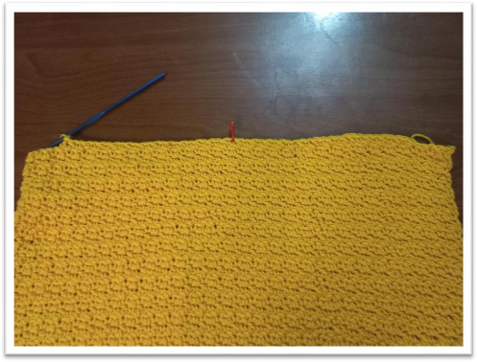
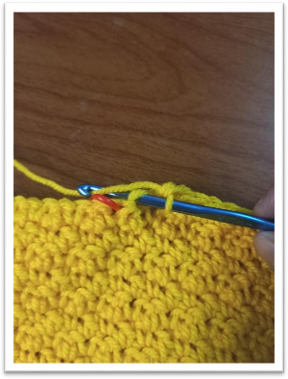
- Chain 01 and Turn. Work Single crochets into the double crochets and double crochets into single crochets all the way along until we reach a stitch before the stitch marker.
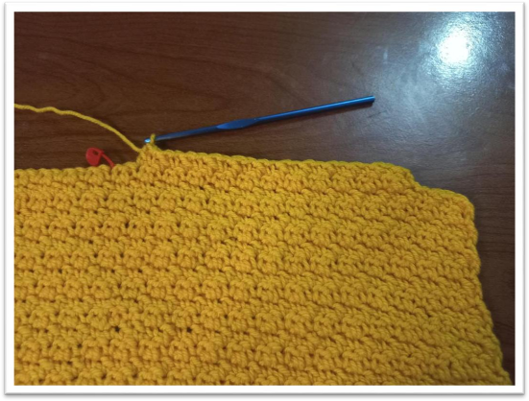
- Remove stitch marker.
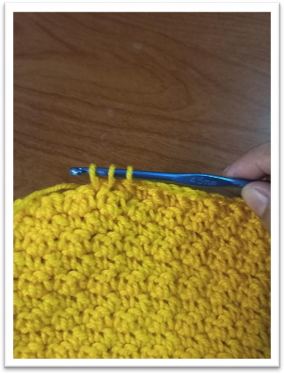
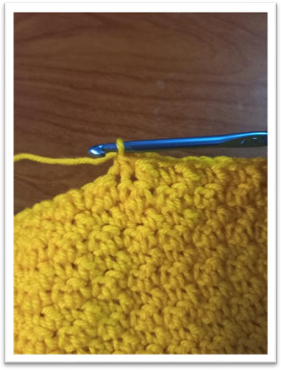
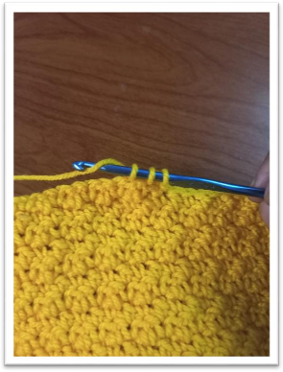
- Work Single Crochet two together.
- Round 02: Chain 01; Turn Work.
- Start this round with 2 single crochet together.
- Work Single crochets into the double crochets and double crochets into single crochets till the end.
- Round 03: Chain 01: Turn work: Work Single crochets into the double crochets and double crochets into single crochets until two stitches are left in the end.
- Work single crochet 2 together in the last two stitches.
- Round 04: Turn Work: Chain 01 and then again start with single crochet 02 together and then Work Single crochets into the double crochets and double crochets into single crochets till the end.
- Continue these two rounds until you decrease leaves you at your required length.
- Chain 01; Turn Work. Work the pattern i.e. Single crochets into the double crochets and double crochets into single crochets all the way along.
- Make enough rounds of this part to reach your desired length by chaining 01, turning work and working the pattern and then fasten off at the end. Leave a long tail after cutting the yarn to sew up the front and back of vest.
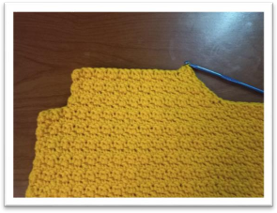
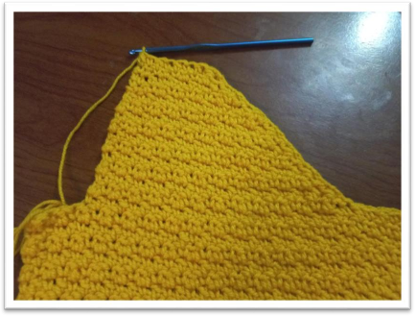
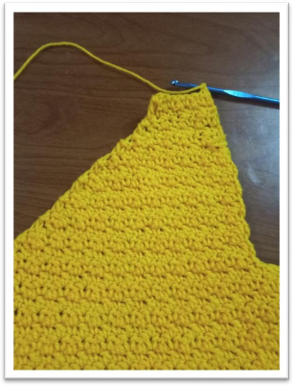
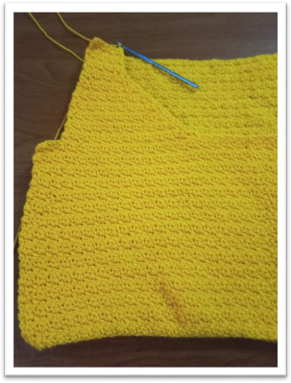
- Now let’s work on the 6th stitch where you have skipped.
- Inset hook and pull the yarn and chain 01.
- Work the exact same patterns i.e. two rounds of the previous arm hole.
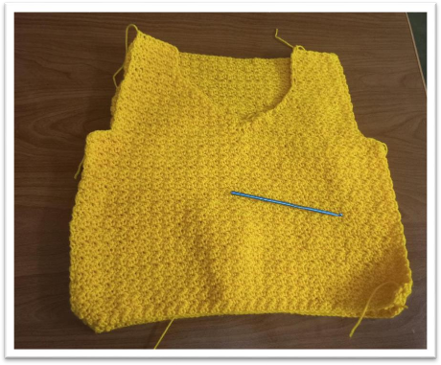
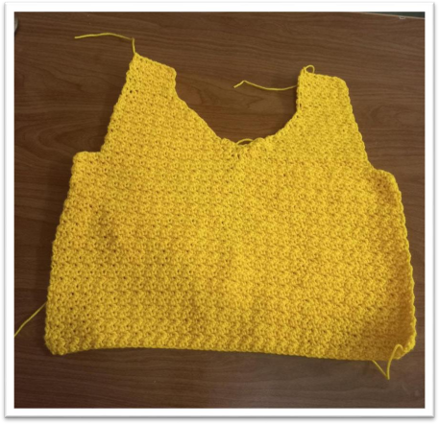
- Back Part
- Repeat the back part exactly the front part
- However instead of arm holes just continue the rounds of after skipping 6 stitches until you reach the desired length as the front. However, you don’t have to make the v or round for the back.
- Now sew the back side with front side
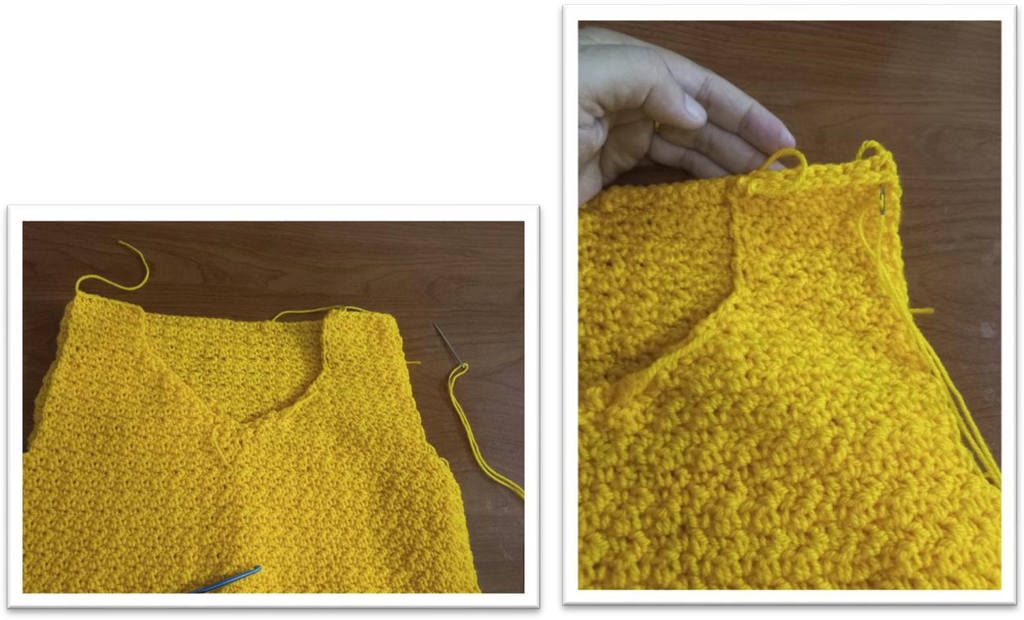
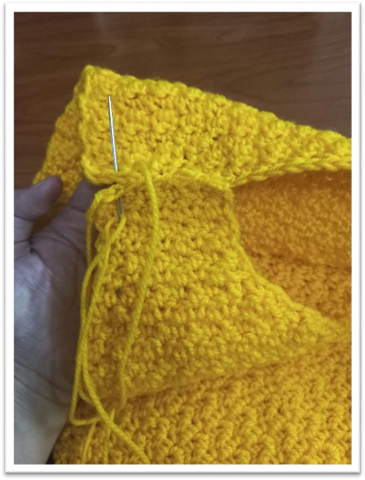
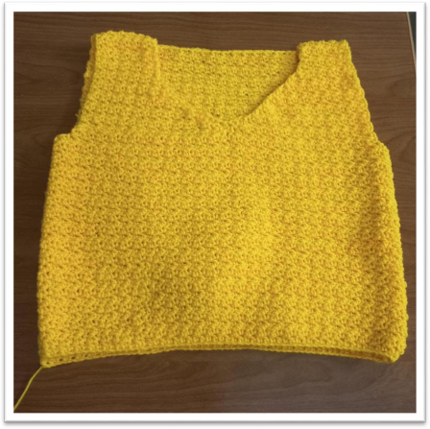
- And then weave in to hide any extra yarn.
- Work the borders
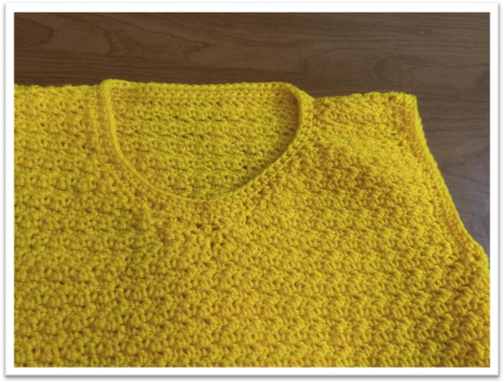
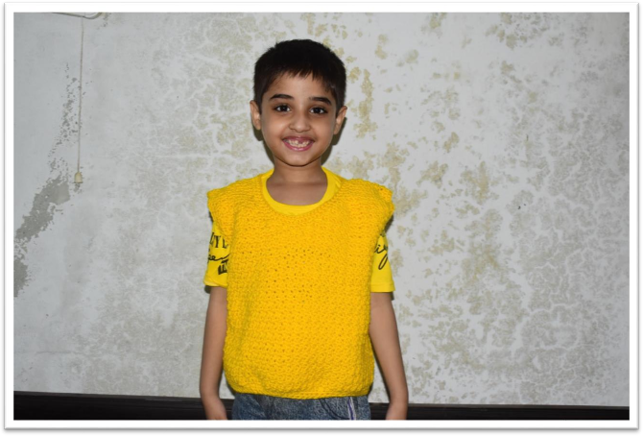
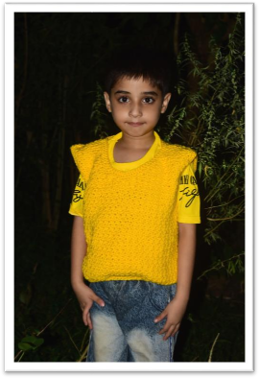
51. Here is the final result.