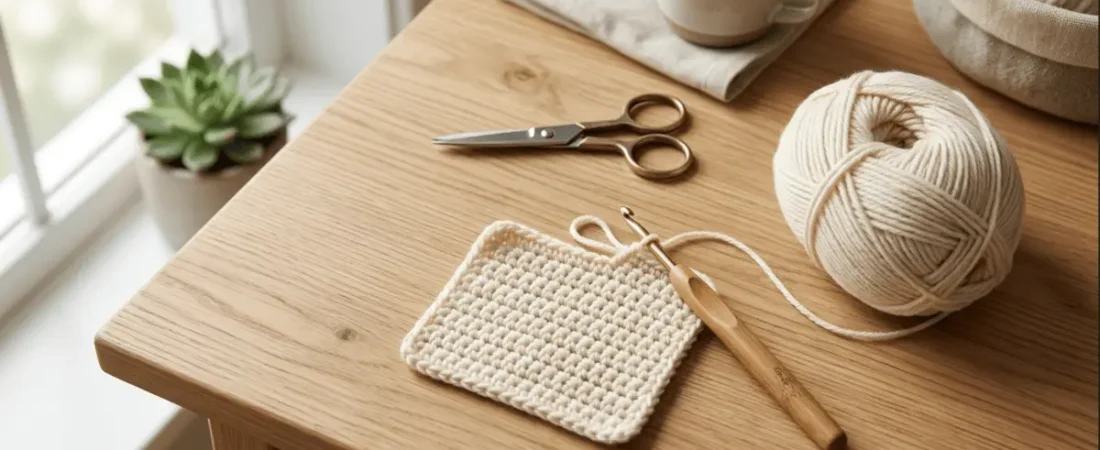
To crochet as an absolute beginner, you need just three things to start: a 5mm (H/8) crochet hook, a ball of smooth worsted weight yarn, and a pair of scissors. From there, you learn five core skills in order: holding your hook, making a slip knot, chaining, working single crochet, and fastening off. Master those five, and you can make a real project like a scarf or a dishcloth within your first weekend. This guide walks you through each one slowly, the way a patient friend would if they were sitting beside you.
Crochet is a yarn craft where you use a single hook to pull loops of yarn through other loops, building fabric one stitch at a time. The word itself comes from the French “croche,” meaning hook. Unlike knitting, which juggles two needles, crochet keeps everything on one tool, which is exactly why so many people find it easier to pick up. If you have ever wanted to make cozy blankets, hats, or amigurumi toys, this is where your journey begins.
What You Need to Start Crocheting
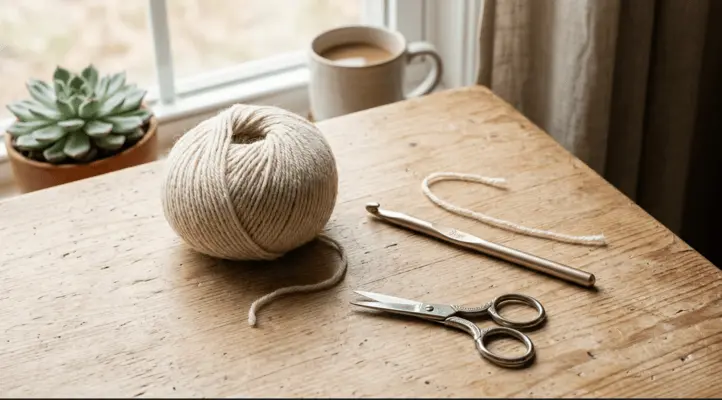
Before your first stitch, keep your shopping list short. Beginners often overbuy, then feel overwhelmed by a drawer full of hooks they do not understand yet. You genuinely need very little.
A crochet hook (5mm / H/8). This mid range size is the one most teachers recommend for learning. It is big enough that you can clearly see the loops you are working with, but not so big that your fabric turns floppy. Aluminum hooks glide well and cost little. If your hands tire quickly, an ergonomic hook with a soft rubber handle is a kind investment.
Worsted weight yarn (yarn weight #4). This medium thickness yarn is the friendliest for new hands. Choose a smooth acrylic in a light, solid color. Dark or fuzzy yarns hide your stitches and make counting a nightmare. Save the fluffy novelty yarn for later, once your fingers know what they are doing.
Scissors and a yarn needle. Any small scissors work for cutting. A blunt tipped yarn needle (also called a tapestry needle) is for weaving in your loose ends at the end.
That is the entire kit. No pattern books, no stitch markers, no fancy organizers required on day one.
Step 1: How to Hold Your Hook and Yarn
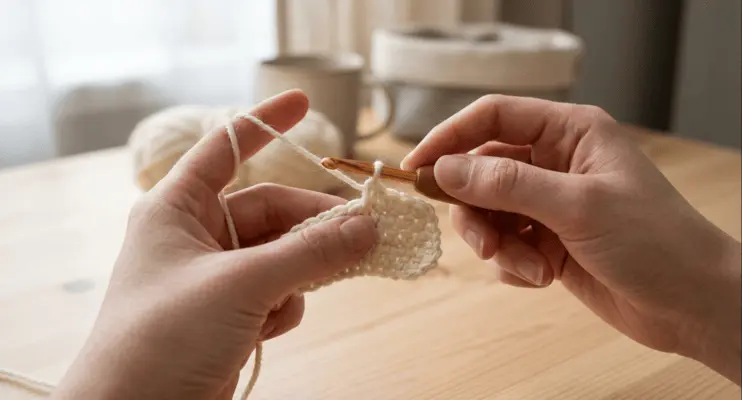
There is no single correct grip, only the one that feels natural to your hands. Most crocheters use one of two holds.
The pencil grip means you hold the hook the way you hold a pen, resting it between your thumb and index finger. The knife grip (sometimes called the overhand grip) means you grasp the hook in your palm the way you would hold a butter knife. Try both. Many beginners find the knife grip gives them more control and less wrist strain during longer sessions.
For your other hand, the yarn needs a little tension so it feeds smoothly. A common method is to drape the working yarn over your index finger and let it run loosely through your remaining fingers. Do not grip it tightly. Tension comes with practice, and forcing it early only leads to sore hands and stitches that are too tight to work into.
Step 2: Make a Slip Knot
Every crochet project begins with a slip knot, the adjustable loop that anchors your yarn to the hook.
Make a loop with your yarn so the tail crosses behind the working strand. Reach through the loop, grab the working yarn, and pull a second loop through. Slide that loop onto your hook and gently tug the tail to snug it up. It should sit on the hook firmly but still slide freely. If it is too tight to move, you have overtightened it, so loosen and try again.
One thing that trips up almost everyone at first: the slip knot loop on your hook does not count as your first chain. It is simply your starting point.
Step 3: Learn the Chain Stitch
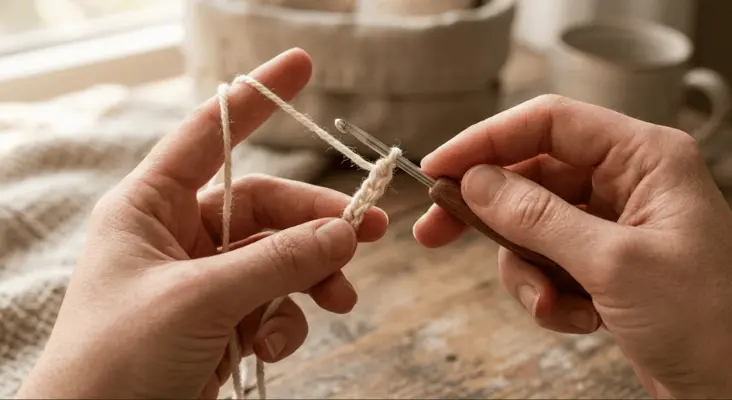
The chain stitch (abbreviated “ch” in patterns) is the foundation of nearly everything you will make. Think of it as laying down the base row before you build upward.
Here is the motion. With your slip knot on the hook, wrap the working yarn over the hook from back to front. This move is called a yarn over, and you will use it in every single stitch, so it pays to get comfortable with it now. Once the yarn is over your hook, draw it back through the loop already sitting on the hook. Congratulations, that is one chain.
Repeat until you have a chain of about 20 stitches. Do not worry if your first chains look lumpy and uneven. Everyone’s do. Practice keeping them the same size, and try to keep your tension relaxed. Even, consistent chains are the mark of a crocheter who has put in the reps, so give yourself grace here.
Counting tip: each chain looks like a small V or a tiny braid link. Count the Vs, not the loop on your hook.
Step 4: Work Your First Single Crochet
The single crochet (abbreviated “sc”) is the shortest and most useful beginner stitch. Once you can chain and single crochet, you can already make dishcloths, scarves, and simple bags.
Note on terms before you begin: this guide uses US crochet terminology. In UK patterns, what Americans call a single crochet is called a double crochet. Always check which terms a pattern uses so your stitches come out the right height.
Now the stitch, broken into four small moves:
- Insert your hook into the second chain from the hook (skip the very first one, it acts as your turning space).
- Yarn over and pull the yarn back through that chain. You now have two loops on your hook.
- Yarn over again.
- Pull through both loops on your hook. One loop remains. That is one completed single crochet.
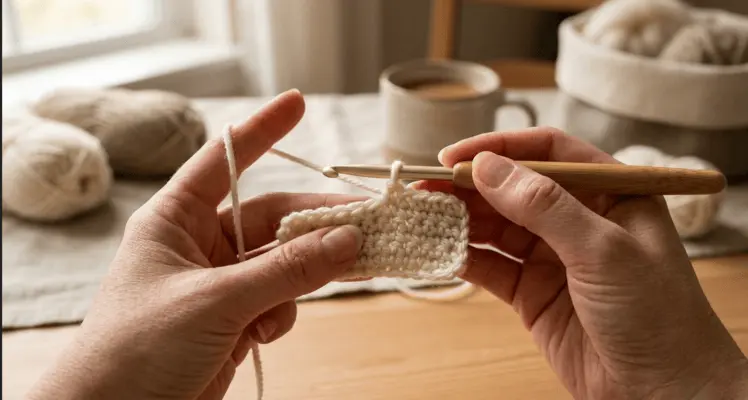
Work a single crochet into each chain across the row. When you reach the end, you have finished your first row of crochet fabric. To start the next row, chain one, turn your work like a page in a book, and single crochet across again. Keep going and you will watch actual fabric grow beneath your hook.
Step 5: Fasten Off and Weave in Your Ends
When your piece is as big as you want, you finish it off so it does not unravel.
Cut the yarn, leaving a tail about six inches long. Yarn over one last time and pull that tail all the way through the final loop on your hook. Tug it snug. This is called fastening off. Thread the tail onto your yarn needle and weave it back and forth through several stitches on the back of your work, then trim the excess. Neatly woven ends are what separate a finished piece from a project that quietly comes apart in the wash.
The Best First Project for Beginners
Do not start with a sweater. Start with something flat, forgiving, and quick to finish so you feel that rush of accomplishment.
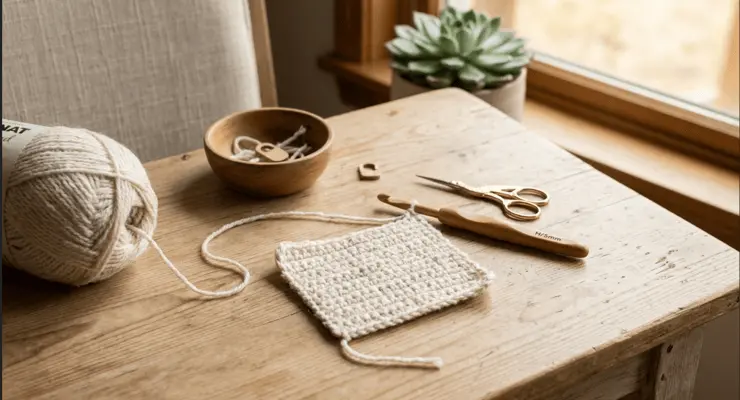
A dishcloth or washcloth is the ideal first project. It is small, uses only the chain and single crochet stitches you just learned, and it is genuinely useful when done. A simple scarf is the classic second project, since it is just more of the same rhythm repeated until it is long enough. Both let you build muscle memory without the pressure of gauge or fit.
Common Beginner Mistakes and How to Fix Them
Your edges are getting narrower or wider. You are accidentally skipping the last stitch or adding an extra one at the ends. Count your stitches after every row until it becomes automatic.
Your stitches are painfully tight. New crocheters death grip the yarn. Consciously loosen your tension, or size up to a slightly larger hook while learning.
You lost count of your rows. Place a small stitch marker (or even a scrap of contrasting yarn) at the start of a row to keep your place.
You made a mistake three rows down. Good news, crochet is wonderfully forgiving. You can simply pull your work back to undo stitches, a process crocheters affectionately call “frogging” (as in “rip it, rip it”). Nothing you do is permanent.
How Long Does It Take to Learn Crochet?
Most people can make a recognizable, tidy row within an hour of practice and complete a small project like a dishcloth within a few days. Reaching the point where your stitches look even and your tension feels natural usually takes a few weeks of regular practice. The craft rewards patience, not speed, so measure progress by how relaxed your hands feel rather than how fast you go.
Frequently Asked Questions
Is crochet or knitting easier for beginners?
Most beginners find crochet easier because it uses only one hook and mistakes are simple to undo. Knitting requires managing two needles and dropped stitches can be harder to recover.
What is the easiest thing to crochet first?
A dishcloth or a simple scarf is easiest, because both are flat and use only the chain and single crochet stitches, with no shaping required.
Can I teach myself to crochet at home?
Yes. Crochet is one of the most self teachable crafts. With a hook, worsted weight yarn, and a step by step guide like this one, you can learn the fundamentals entirely on your own.
What size crochet hook should a beginner use?
A 5mm (US H/8) hook paired with worsted weight yarn is the standard recommendation. The stitches are large enough to see clearly, which makes learning far less frustrating.
How much yarn do I need to start?
A single skein of worsted weight yarn (roughly 150 to 220 yards) is plenty for practicing and completing your first small project.
Your Crochet Journey Starts Now
Learning to crochet comes down to five repeatable skills: hold your hook, make a slip knot, chain, single crochet, and fasten off. Everything else you will ever make, from granny square blankets to amigurumi animals, builds on these same foundations. Grab your hook and a ball of yarn, work through each step at your own pace, and be kind to yourself when the first attempts look wobbly. Every experienced crocheter started exactly where you are now.
When you are ready for your next step, explore the free beginner patterns here on Crochet Patterns Hub and put your new skills to work on a project you will actually be proud to show off.