| 1. Single Crochet | Insert your hook from the second chain. Yarn over. Pull through the chain. Two loops on the hook. Yarn over again and pull through both the loops. |
| 2. Double Crochet | Yarn over. Insert into the center of the ring/loop. Yarn over and pull the yarn back through. Three loops on hook. Yarn over, pull through two loops. Yarn over and pull through two |
| 3. Half Double Crochet | Yarn over the hook into the next chain, yarn over pull the loop, there will be three loops on your hook. Yarn over, pull through all three loops. |
| 4. Cross Double Crochet | A cross double crochet is made by working double crochet stitches across each other. Follow the pattern instructions carefully to create the crossed effect. |
| 5. Triple Crochet | Yarn over, pull up a loop, four loops on the hook. Yarn over, pull through the first two loops, yarn over again, pull through the next two loops. Two loops on the hook. Yarn over and pull through the last two loops |
| 6. Slipknot | Rap the yarn around your index finger and around the thumb and bring the yarn into the lower loop and snug that out. Yarn over the hook and pull through the loop on the hook. |
| 7. Magic Ring | Start with Magic Ring. Rap the yarn around fingers three times. Twist the yarn. Hook in the loop. Yarn over, pull the yarn through the loop and this is how I you make magic ring. |
Following are just a few examples of crochet abbreviations commonly used in patterns. It’s important to note that some abbreviations may vary slightly depending on the country or region. When starting a new pattern, always check the pattern key or legend for the specific abbreviations used in that particular patterns.
- Ch: Chain – This is the most basic crochet stitch. It creates a foundation chain and is often used as a starting point for other stitches.
- Sc: Single Crochet – This stitch creates a single crochet stitch, which is a short and tight stitch.
- Hdc: Half Double Crochet – This stitch is taller than a single crochet but shorter than a double crochet. It creates a medium-height stitch.
- Dc: Double Crochet – This stitch creates a tall and open stitch. It is commonly used for creating height and drape in crochet projects.
- Tr: Treble Crochet – This stitch is taller than a double crochet and creates an even taller and more open stitch.
- Sl St: Slip Stitch – This stitch is used to join stitches or rows together, create decorative effects, or move the hook to a different location without adding height.
- Inc: Increase – This refers to increasing the number of stitches in a specific area. The specific increase technique may vary depending on the pattern.
- Dec: Decrease – This refers to decreasing the number of stitches in a specific area. Again, the specific decrease technique may vary depending on the pattern.
- Yo: Yarn Over – This means wrapping the yarn over the hook before working the next stitch. It creates a loop on the hook and is an essential part of many crochet stitches.
- St(S): Stitch(Es) – This abbreviation refers to the number of stitches you should have or the stitches you need to work into.
- Rep: Repeat – This means repeating a specific set of stitches or instructions a certain number of times.
DESCRIPTION:
Crochet is a creative and enjoyable craft that allows you to make beautiful and personalized items. With practice and patience, you can develop your
crochet skills and create unique pieces to treasure or share with others. Following are some of the basic stitches as well as Slipknot that are used
for knitting different personalized items.
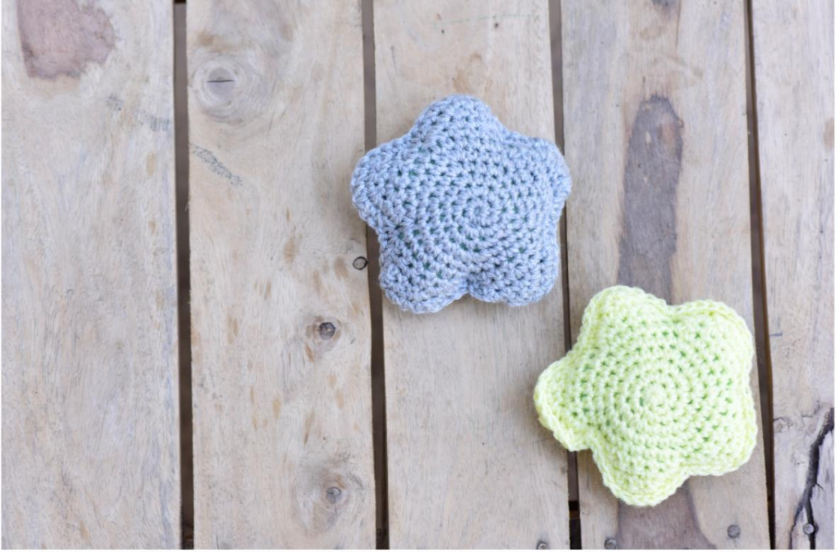
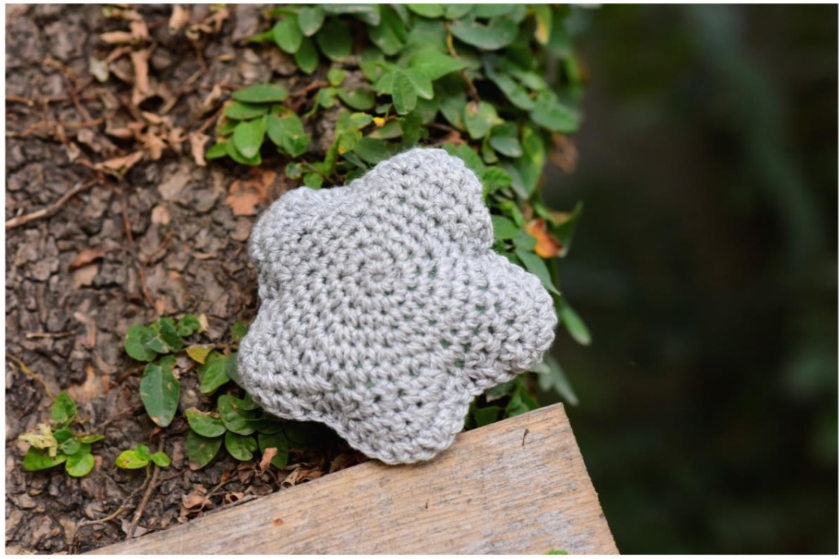
Today I am brining you a pattern about crocheting an Amigurumi Star use. It is so simple that anyone with a beginner knowledge of crochet, can crochet it by following the steps in this PDF Document. It is a very quick project and you will do it in no time.
So let’s start. First of all, check the following list of all the accessories and material to be used to crochet an Amigurumi Star:
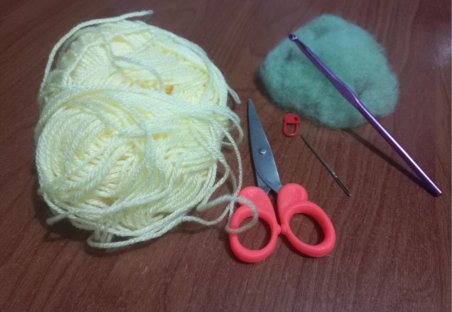
- Yarn
- Scissors
- Crochet Needle
- Crochet hook (5mm)
- Stuffing Material
- Stitch Markers
Step by Step
- Start with a Slipknot
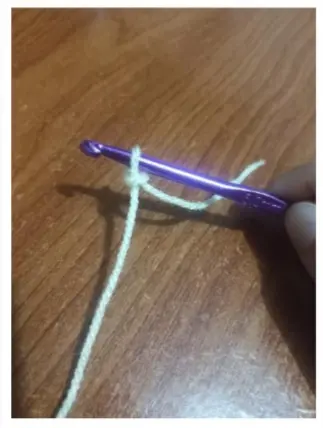
- Round 01
- Chain 02
- Six Single Crochets into the first Chain
- Mark the stitch marker
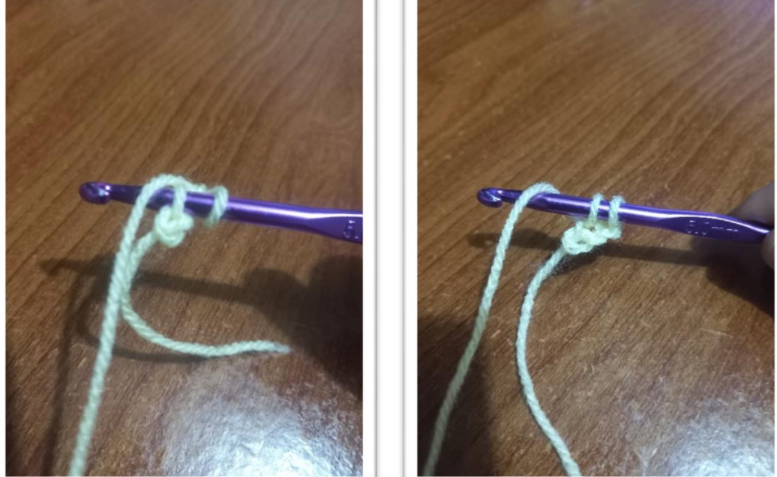
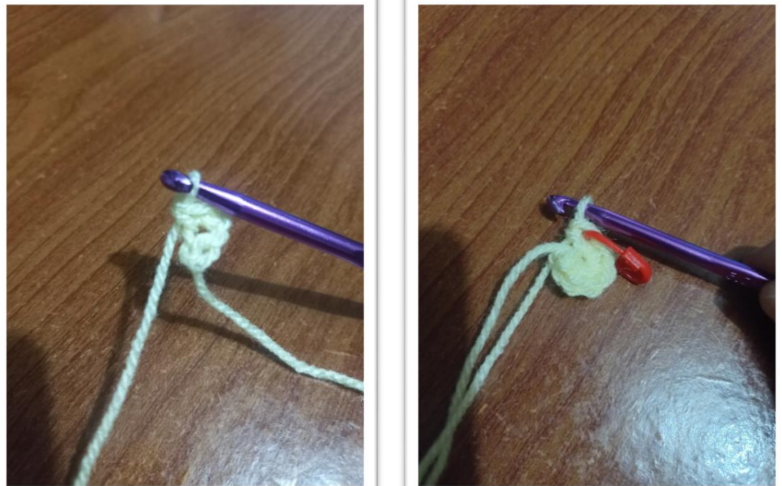
- Round 02
- Two single crochet in each stitch around (12 stiches)
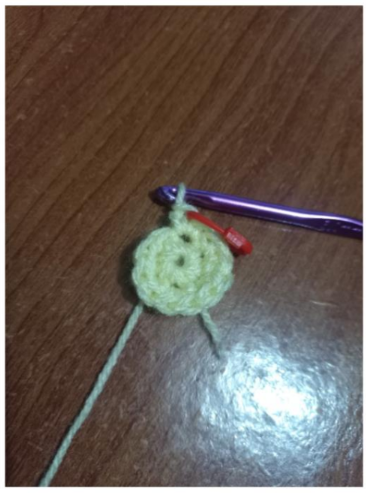
- Round 03
- Two Single Crochet into the next stitch and one single crochet into the next stitch (18 stitches) all the way around.
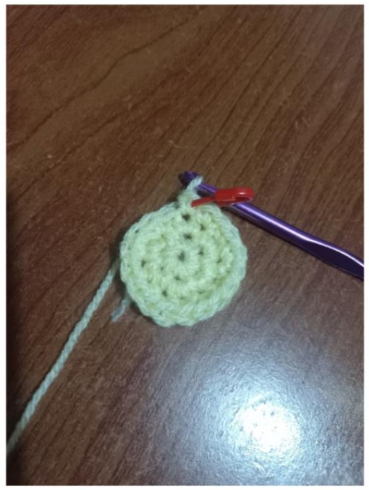
- Round 04
- 2 SC into the next stitch + One SC + One SC in each next two
stitches (24) - Round 05
- 2 SC into the next stitch + One SC + One SC + One SC in each next
three stitches (30)
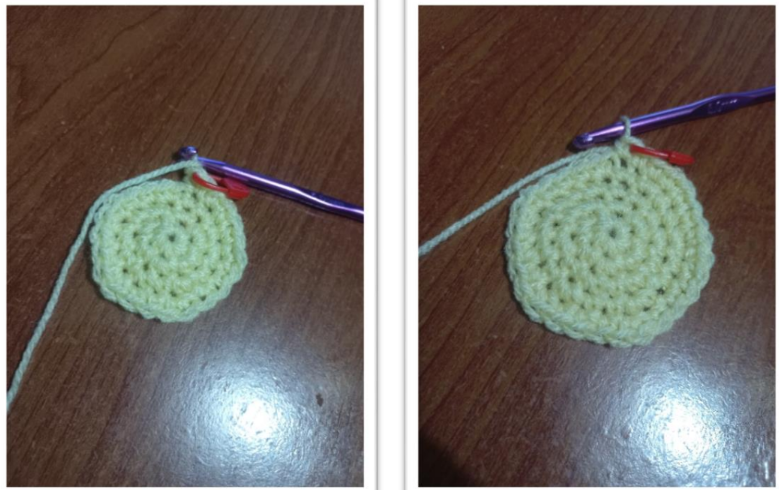
- Round 06
- Work one single crochet each for next six stitches
- Round 07
- Chain 01, Turn, Skip first Stitch, Work five single crochet into the
five stitches - Round 08
- Chain 01
- Turn
- Skip first SC and Work four single crochet into the four stitches
- Round 09
- Chain 01
- Turn
- Skip first SC and Work three single crochet into the three stitches
- Round 10
- Chain 01
- Turn
- Skip first SC and Work two single crochet into the two stitches
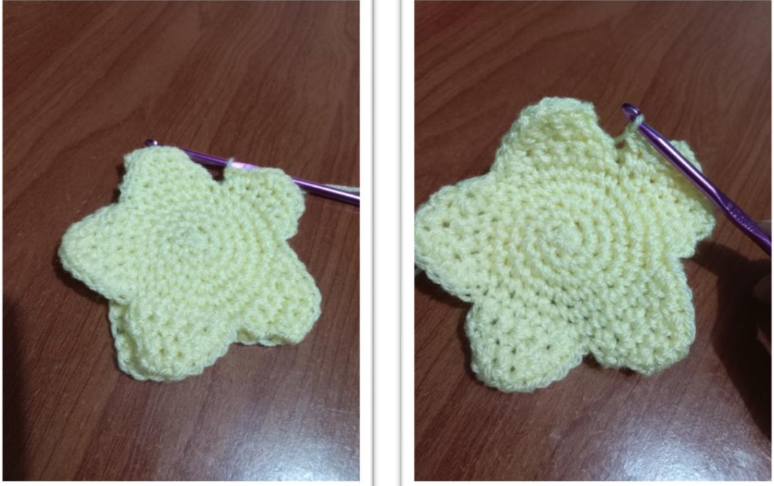
- One star point is formed.
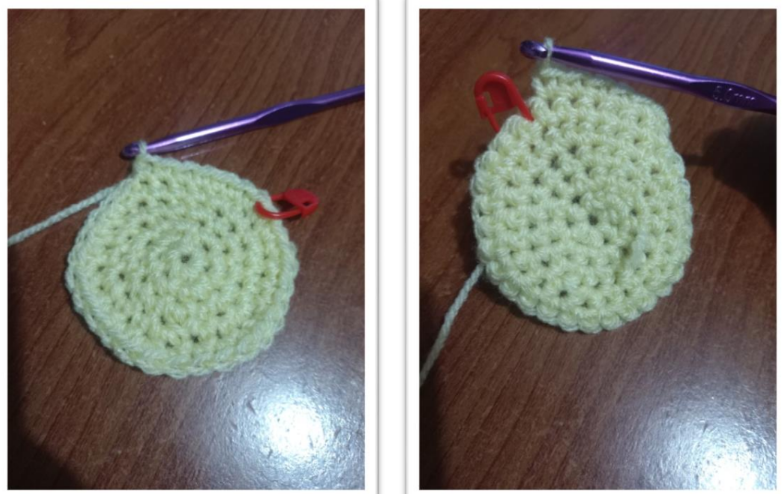
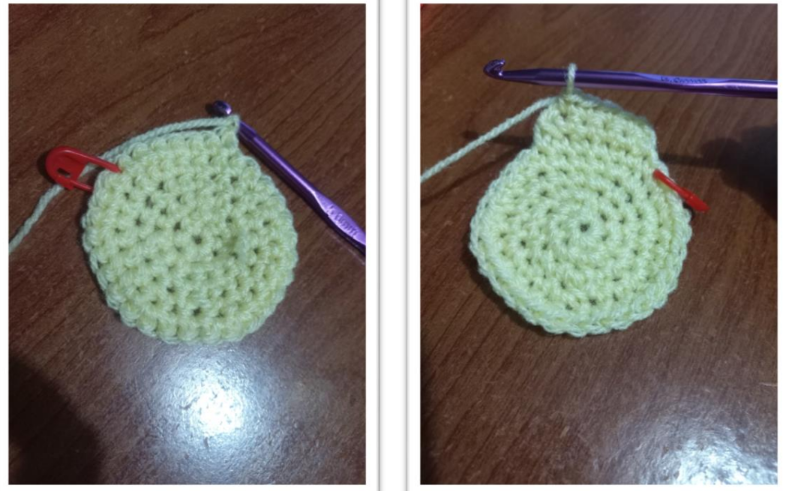
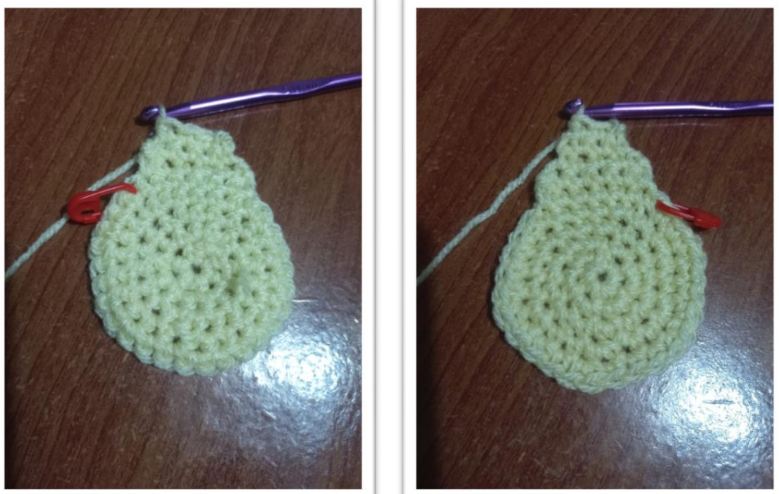
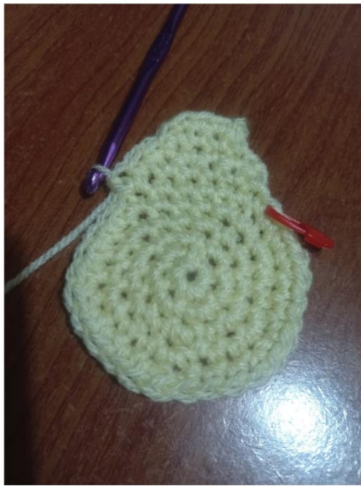
- Now work single crochet down the side and repeat round 6-10 for
the remaning star points. - Start is completed and cut the yarn and fasten off.
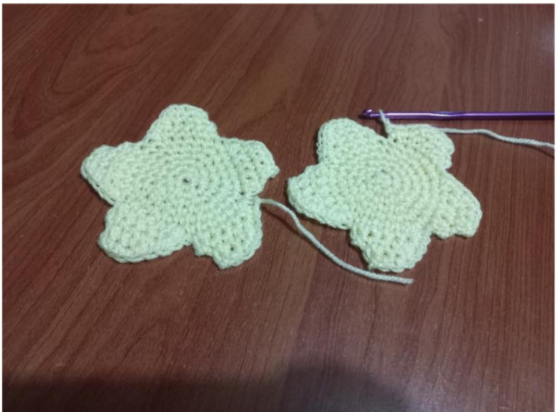
- Create the whole pattern to create the second star
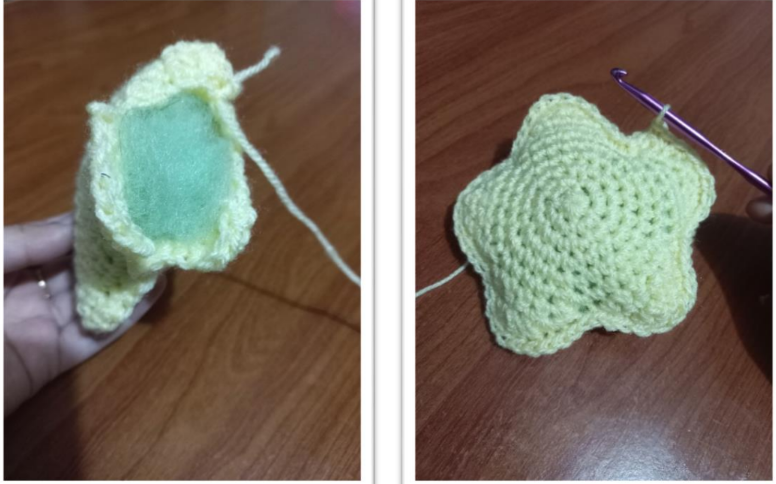
- Combine the both stars with backside facing each other and attach
them by working a single crochet all the way around. - Don’t forget to add stuffing.
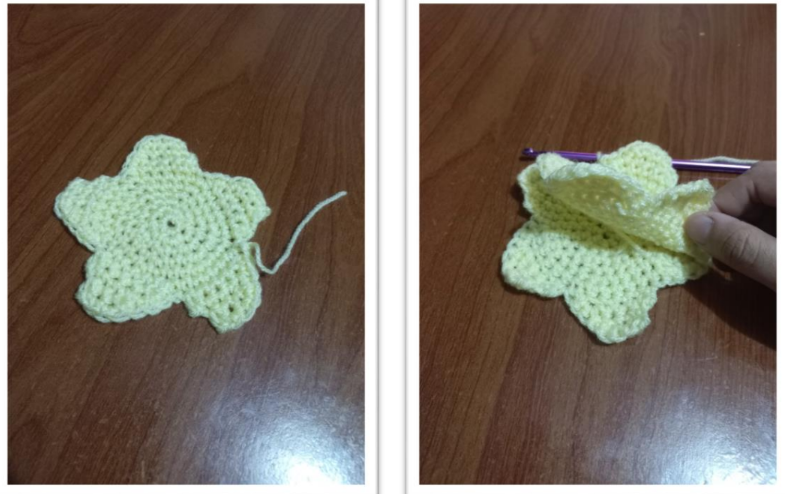
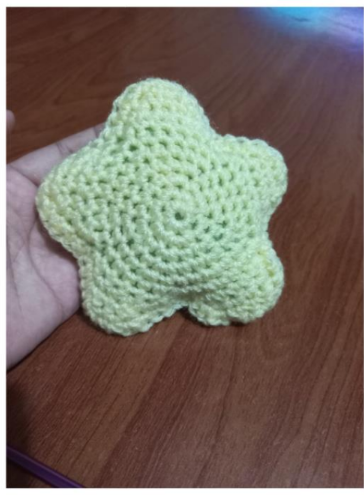
36. Here is the final result.