
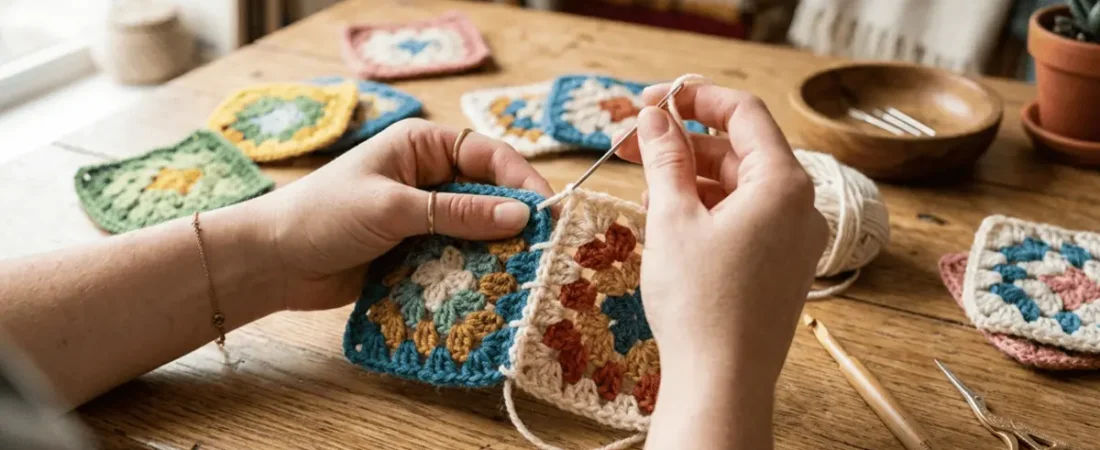
You’ve crocheted a happy pile of granny squares now comes the part that stops a lot of beginners: joining them into one blanket. The good news is that attaching granny squares is easier than it looks, and you have several methods to choose from depending on whether you want an invisible seam, a decorative ridge, or the least amount of sewing. This guide walks you through the five best ways, step by step, and helps you pick the right one for your project.
What’s the easiest way to attach granny squares?
The easiest way to attach granny squares is the whip stitch you hold two squares together and sew through the matching stitches with a tapestry needle and a length of yarn. It needs no special skills, hides well, and is the method most beginners start with. If you’d rather use a crochet hook than a needle, the slip stitch join or single crochet join are just as beginner-friendly. For the least finishing work of all, join-as-you-go connects squares while you crochet the final round.
Before you start: 3 quick tips
- Lay out your squares first in the arrangement you like and take a photo, so you join them in the right order.
- Decide right sides vs. wrong sides together. Squares held wrong sides together give a raised, decorative seam on the front; right sides together hides the seam on the back for a flat finish.
- Join all rows in one direction first (all the horizontal seams), then join those strips together (the vertical seams).
The 5 best ways to join granny squares
1. Whip stitch (easiest, nearly invisible)
Best for: beginners who want a simple, tidy seam.
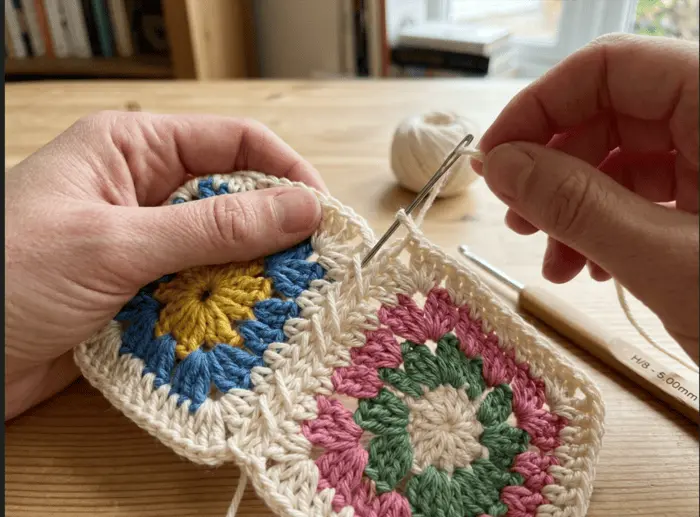
- Place two squares right sides together, edges lined up.
- Thread a tapestry needle with a long piece of matching yarn.
- Starting at one corner, insert the needle under the outer loops of both squares and pull through.
- Continue stitch by stitch along the edge, going under the matching loops of both squares each time.
- Keep your tension even — snug but not tight — and fasten off at the end.
2. Mattress stitch (the invisible seam)
Best for: when you want the join to basically disappear.
- Lay the two squares side by side, right sides up, edges touching.
- With a threaded tapestry needle, catch the back bump or inner loop of one square, then the matching spot on the other square.
- Zig-zag back and forth between the two squares, pulling gently so the seam closes up and the squares sit flat.
- This creates a flat, almost hidden join — lovely for a smooth, modern blanket.
3. Slip stitch join (fast ridge, uses a hook)
Best for: a defined, textured line between squares.
- Hold squares wrong sides together (for a visible ridge on the front) or right sides together (to hide it).
- Insert your hook through both corner stitches, pull up a loop.
- Work slip stitches through the matching stitches of both squares all along the edge.
- Keep the slip stitches loose enough that the seam doesn’t pucker.
4. Single crochet join (bold, sturdy seam)
Best for: a stronger, more decorative raised seam.
- Hold squares wrong sides together for a bold ridge on the front (or right sides together for a flat back seam).
- Insert your hook through both corner stitches and join your yarn.
- Work a single crochet through each matching pair of stitches along the edge, including the corner spaces.
- The result is a pronounced, hard-wearing seam — great for blankets that’ll get a lot of use.
5. Join-as-you-go (least sewing)
Best for: avoiding a giant pile of joining at the end.
- Fully finish your first square.
- On the last round of the next square, when you reach a point that touches the finished square, drop your hook into the matching space on the finished square and slip stitch to connect, then continue the round.
- Each new square attaches to its neighbors as you complete it.
- By the time your last square is done, your blanket is already joined no separate seaming step.
Which joining method should you choose?
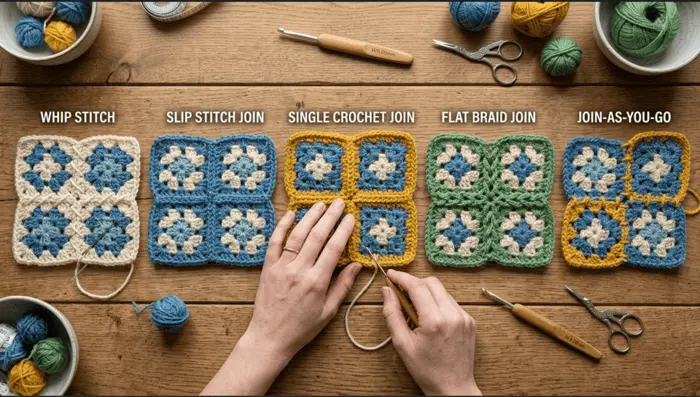
| Method | Tool | Look | Best for |
|---|---|---|---|
| Whip stitch | Needle | Tidy, subtle | Beginners |
| Mattress stitch | Needle | Invisible, flat | Smooth modern look |
| Slip stitch | Hook | Thin ridge | Fast, textured seam |
| Single crochet | Hook | Bold ridge | Sturdy, decorative |
| Join-as-you-go | Hook | Subtle seam | Least finishing work |
Finishing touches
Once everything’s joined, weave in all your ends with a tapestry needle, add a border (a round or two of double or single crochet with 3 stitches in each corner), and block the blanket to even out the seams and help it lie flat. These small steps are what make a handmade blanket look professionally finished.
Frequently Asked Questions
How do you attach granny squares together?
Lay your squares out in order, then join them edge to edge using one of five main methods: whip stitch or mattress stitch with a tapestry needle, slip stitch or single crochet with a crochet hook, or join-as-you-go while crocheting the final round. Whip stitch is the easiest for beginners.
What is the easiest way to join granny squares for beginners?
The whip stitch is the easiest hold two squares together and sew through the matching stitches with a tapestry needle and matching yarn. It needs no special technique and gives a neat, subtle seam.
Should you join granny squares with right sides or wrong sides together?
It depends on the look you want. Hold squares wrong sides together for a raised, decorative seam on the front, or right sides together for a flat seam hidden on the back.
What is the most invisible way to join granny squares?
The mattress stitch (sewn with a tapestry needle) gives the most invisible join, closing the seam so the squares look continuous. A whip stitch in matching yarn is also very subtle.
Is it better to sew or crochet granny squares together?
Both work well — it’s a matter of preference. Sewing (whip or mattress stitch) gives a flatter, more invisible seam; crocheting (slip stitch or single crochet) is faster and creates a defined ridge. Join-as-you-go avoids separate seaming entirely.
How do you keep granny square seams flat?
Use even, not-too-tight tension, match your stitches carefully, choose a flatter method like mattress stitch or right-sides-together joins, and block the finished blanket to relax the seams.
What order should you join granny squares in?
Lay them out in your final arrangement, join each row of squares into long strips first, then join the strips together. Working in one direction at a time keeps everything lined up.
Do you join granny squares before or after the border?
Join all the squares first, then add the border around the whole assembled blanket. The border frames the piece and tidies the outer edge once everything is connected.
Ready to put your blanket together?
Pick the method that matches the look you want — whip stitch for easy and invisible, single crochet for a bold seam, or join-as-you-go to skip the sewing — lay your squares out, and connect them row by row. Before you know it, your pile of squares becomes a finished blanket. 🧶